Learn How To Draw An Alto Saxophone In 2 Different Easy Ways!
-
How to Draw a Saxophone
-
Saxophone Drawing Simple and Easy
- Step 1 - Use a Pencil and Ruler to Draw the Basic Shape of the Alto Saxophone
- Step 2 - Sketch in Basic Shading for Your Alto Saxophone
- Step 3 - Define Your Alto Sax's Curves with More Detail
- Step 4 - Add Color and Texture
-
How To sketch a Saxophone Step by Step
- Step 1: Begin Sketch
- Step 2: Add Details
- Step 3: Add Color
- Step 4: Add Texture
- Step 5: Final Touches
In these drawing tutorials, we’ll be walking you through the steps of how to draw an alto saxophone.
Drawing and sketching a saxophone is easy and fun.
You don’t need any special tools or materials, just your imagination and willingness to learn in order to draw this incredible instrument!
We’ll provide step-by-step instructions on how to draw a saxophone as well as tips and tricks for creating a realistic looking saxophone.
Let’s get started!
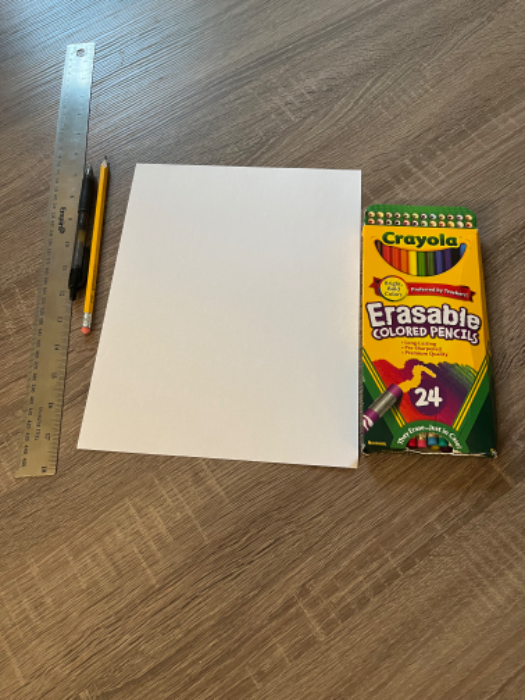
Tools and Materials You’ll Need
Before you get started on your drawing project, make sure you have the right materials and supplies on hand. You’ll need:
Pencil
Colored Pencils
Black Ink Pen
Eraser
Paper
Ruler (optional)
Saxophone background music (not optional ;) )
How to Draw a Saxophone

Saxophone Drawing Simple and Easy
Step 1 - Use a Pencil and Ruler to Draw the Basic Shape of the Alto Saxophone
The first step in drawing an alto saxophone is to use a pencil and ruler to draw the basic shape of the instrument.
Start by drawing two long parallel lines that will form the body of the saxophone.

Then add two short horizontal curved lines at each end of these vertical lines.
This will form the bell of your saxophone in the shape of a slight oval.
Finally, draw two more horizontal lines on top of these vertical ones to complete the main shape of the saxophone.
Step 2 - Sketch in Basic Shading for Your Alto Saxophone

Now that you have your basic shape drawn out, it’s time to start adding some shading.
This will give your alto saxophone a more realistic look and make it appear three-dimensional.
Begin by sketching in some light shading along the edges of each line, working from left to right or bottom up as needed.
To create shadows on your alto saxophone, use a slightly darker shade than what you used for shading along its edges.
If you need help understanding how light works when creating shadows on 3D objects, take a look at some online tutorials or consult an art book for guidance on this topic.
Step 3 - Define Your Alto Sax's Curves with More Detail
Now that you have your basic shading done, it’s time to start adding more detail to your alto sax's curves and other features.
To do this, use a sharpened pencil or pen to draw small circles along its curves as well as any other details you wish such as knobs or buttons located near its keys (if applicable).

You can also use crosshatching techniques for further detail if desired but try not to overdo it as too much detail can make your alto sax look cluttered instead of realistic!
Once finished with this step, erase any remaining pencil marks so they don't interfere with future steps.
Step 4 - Add Color and Texture
Now that all of your basic outlines are done, it's time to bring your alto sax drawing alive with color and texture!
To begin adding color, take advantage of colored pencils or markers depending on which type looks best on paper (colored pencils tend to work better).
Start by coloring in areas such as its bell opening or keys before moving onto larger areas like its body or neck area—this will help prevent smudging while coloring smaller details first!

Finally finish up by adding any additional details like ligatures (metal bands around mouthpiece) if applicable before signing off with signature mark underneath picture frame/border if desired.
Well there you have it—4 easy steps showing how anyone can learn how draw their own alto saxophone quickly & easily with this method!
How To sketch a Saxophone Step by Step
Step 1: Begin Sketch
Start by sketching out the basic shape of the saxophone. Use light lines so you can erase mistakes easily.
Sketch out the bell, which you may use a curved line in the shape of an oval for the large part at the end of the instrument.
Then add two straight lines that go from the bell all the way up to where your mouthpiece would be.
The two lines should be slightly curved outward towards each other at their ends, forming an upside down “V” shape.

Step 2: Add Details
Next, add in details such as keys, valves and levers.
You can use either pencil or ink for this step depending on your preference.
For example, if you are using a pencil, lightly shade in areas where there are shadows or highlights on the instrument.
If you are using ink, create thin black lines for details like keys and valves.

Step 3: Add Color
Now it’s time to add in some color!
Choose colors that fit with your vision for your drawing—you can even mix different shades together for added realism if desired.
To make sure your colors stay put once on paper, stick with using colored pencils and try not to smudge or rub on your drawing.

Step 4: Add Texture
Add some texture to make your drawing look more realistic!
This can be done with various techniques such as shading with crosshatching techniques (using small “X” marks).
You can also use stippling (using small dots) or scribbling (using random squiggles).
Experiment with different techniques until you find one that works best for you!

Step 5: Final Touches
Finish up by adding any last touches such as highlights or shadows using white gel pens (for highlights) or black gel pens (for shadows).
This will help give your drawing depth and make it look more lifelike!
And there you have it—your very own customized saxophone drawing!

That's it!
With these drawing tutorials and some practice, anyone can learn how to draw an alto or tenor saxophone with ease!
While it may seem intimidating at first glance due diligence & patience will go far towards producing beautiful results sure impress friends, family, kids, and musicians alike!
So grab those supplies & follow the instructions provided in these drawing tutorials today!
Related:
How to Play Careless Whisper on Alto and Tenor Saxophone
Alto Saxophone Scales you Need to Know
-
How to Draw a Saxophone
-
Saxophone Drawing Simple and Easy
- Step 1 - Use a Pencil and Ruler to Draw the Basic Shape of the Alto Saxophone
- Step 2 - Sketch in Basic Shading for Your Alto Saxophone
- Step 3 - Define Your Alto Sax's Curves with More Detail
- Step 4 - Add Color and Texture
-
How To sketch a Saxophone Step by Step
- Step 1: Begin Sketch
- Step 2: Add Details
- Step 3: Add Color
- Step 4: Add Texture
- Step 5: Final Touches